model-m-type-c
Publicashpil/model-m-type-c
Loading 3D model… large boards can take a moment.
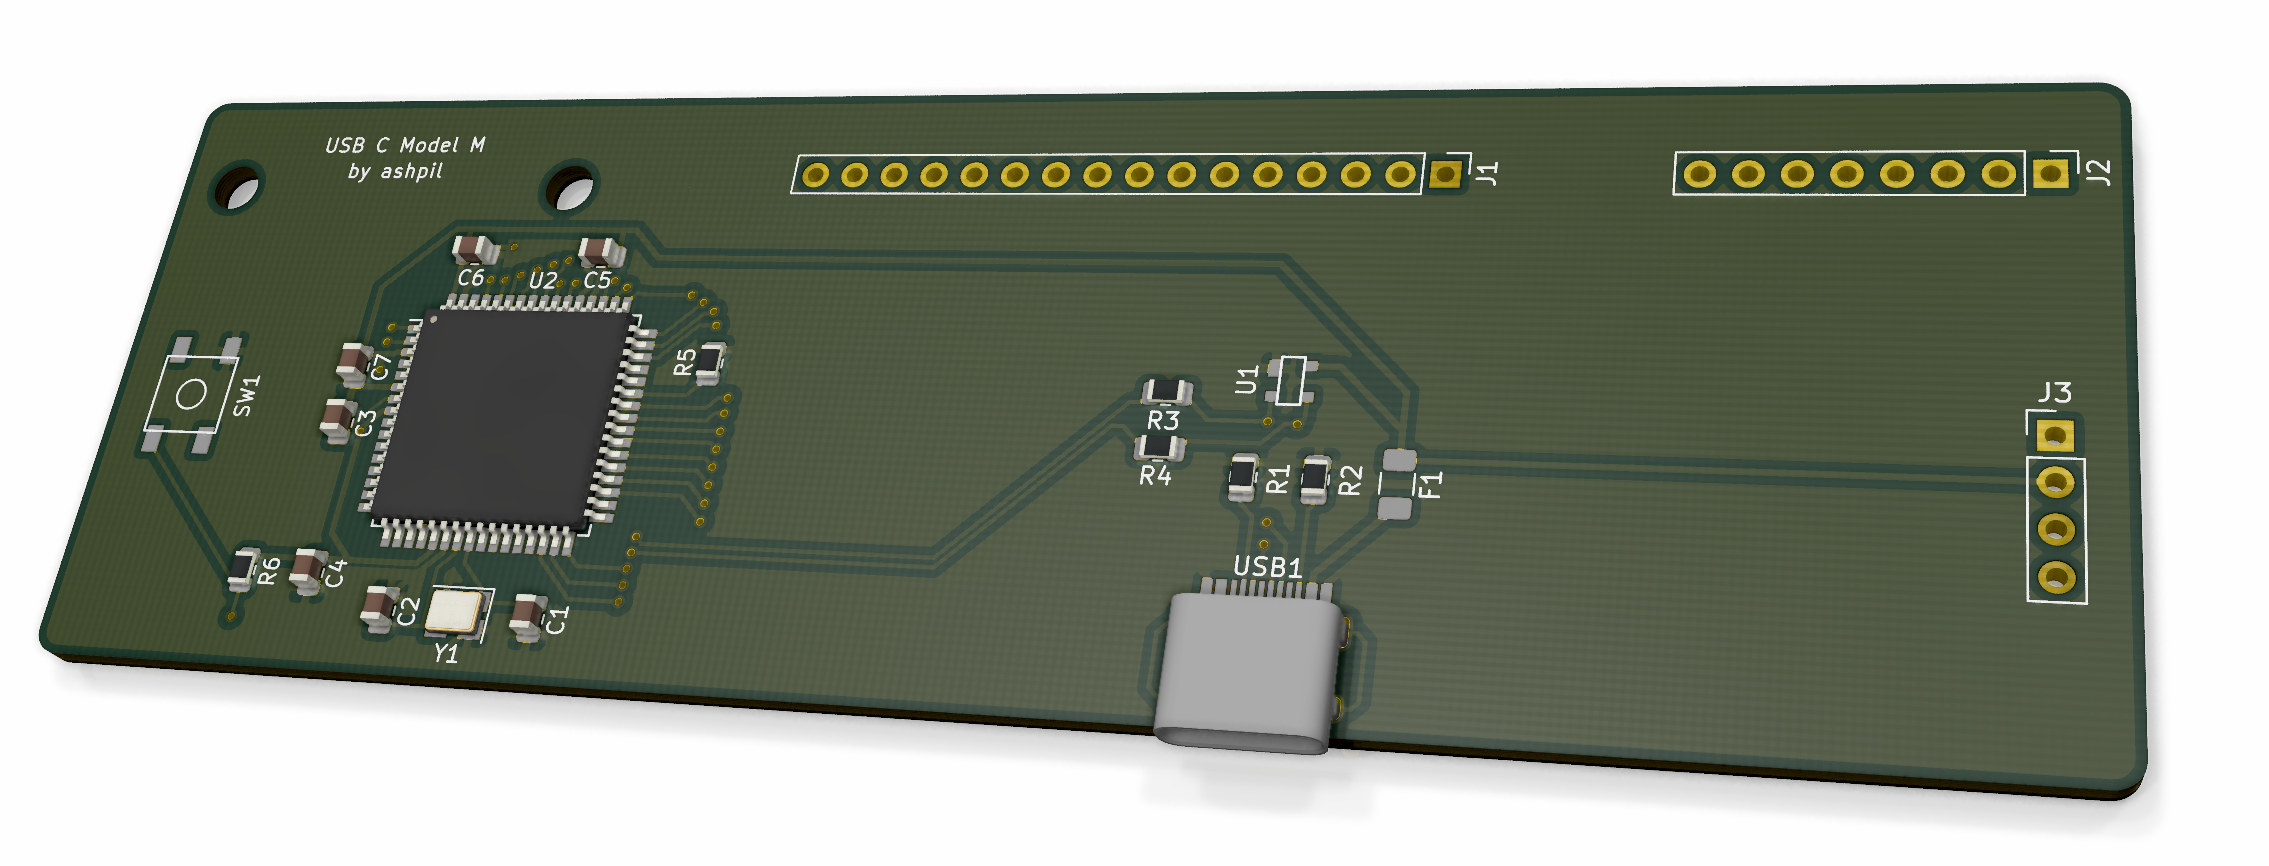
Model M Type C
This is a project with the simple goal of recreating the old IBM Model M keyboard controller with modern technologies in mind.
Motivation
Although the IBM Model M is perhaps the most well-known and popular of old keyboards, it isn't equipped with some modern ameneties we have grown used to enjoying. Key features that the Model M lacks are Windows and Media keys(or, broader, firmware-level repogramability), as well as a hotswappable connection with a modern interface. This controller is designed to bring 21st century features to a 20th century keyboard.
Goals
- Native USB C
- Hotswappable
- Fully configurable with QMK compatibility
- Less power draw
- Complete reversability
Usage
Note: If your Model M has two ribbon cables with a 16-12 split rather than the three connectors with 16-8-4 split, see this issue.
- Print the board either using a cheap foreign service such as JLCPBC for around $6 + shipping, or a domestic service such as OSH Park for around $35. Someone also seems to be selling a PCB for this on eBay, which is totally a scam for $47.95. Does make me feel flattered, though.
- Order the components- part list from Digikey. USB-C port needs to be bought elsewhere, I recommend here. $15 total for components. If your LEDs connect via a ribbon, get this instead of the JST 4 pin connector. I used this cable as a riser cable to connect the controller's USB C port to the side of the keyboard. Unfortunately, due to size conflicts, this cannot be done without a riser cable if you want the external usb c cable to be detachable. This brings total component cost to $25 without shipping.
- Put it together. It's possible to solder these SMD components manually with a soldering iron, but if you are able to find a hot air gun or a reflow oven, it'll be significantly easier. Reference the visual BOM to see what goes where.
- 3D print the USB-C cable dock. You can mount this on top of the board for it to look near-native. Attach the riser cable to the dock with some hot glue or epoxy.
- Connect the ribbon cables and LED wires, and mount the PCB in the same way the old PCB was mounted. Attach the USB-C dock on top of that.
- Install firmware.
Firmware
This board is fully compatible with QMK. This is a default QMK configuration, so all you need to do is run this from your QMK directory when you are ready:
make ashpil/modelm_usbc:default:flash
Check here for details.
Alternatively you can use the Vial firmware. Setup is analogous to QMK, clone the Vial repo and run:
make ashpil/modelm_usbc:vial:flash
Other
If you have any problems/comments, or find anything that could be improved, please submit issue or a pull request!
No comments yet. Be the first to ask about this board.