holocub-16x16x16-rgb-led-cube
PublicLoading…
Holocub V2 – 16×16×16 RGB LED Cube
A fully addressable 3D LED display for animations, games, and visual effects.
📜 Overview
Holocub V2 is a large-scale 16×16×16 RGB LED cube (4096 voxels total) built with WS2812B addressable LEDs.
It is designed to display dynamic animations, interactive effects, and data visualizations in 3D.
The cube is controlled by a microcontroller (planned: RPi Pico 2W / other capable MCU) and supports both procedural animations and pre-rendered frames loaded from an SD card.
🔧 Hardware Specifications
| Component | Specification |
|---|---|
| Cube Size | 16 × 16 × 16 voxels |
| Total LEDs | 4096 WS2812B RGB LEDs |
| LED Type | WS2812B (5V, individually addressable) |
| PSUs | 4 × 5v 350w |
| Data Lines | One per 16×16 vertical layer (16 total) |
| LED Strip Arrangement | Snake layout per layer (serpentine wiring) |
| MCU | Raspberry Pi Pico 2W (planned) / Teensy 4.1 (more power but no internal BLE and wifi) |
| Storage | MicroSD card (frame/animation storage) |
| Power Injection | Multiple injection points per strip |
| Estimated Max Power | ~1.23 kW at full white (theoretical max) |
HoloBoard – PCB by Dragoș
Short description
HoloBoard is a custom PCB designed for the Holocub project, acting as the main control and interface board.
It hosts a Raspberry Pi Pico 2W, integrates a piezo buzzer, and features two bidirectional logic-level shifters for for the communication between the pico and the WS2812B as 3v3 logic could cause interference.
🔧 Key Features
- MCU Slot: Raspberry Pi Pico 2W header footprint (solder-in or socket).
- Audio Output: 1 × piezo buzzer connector (with optional series resistor).
- Expandable hardware: Left over pins (used mainly for I²C and SPI) routed to the side for extra connectivity.
- Build Quality: Silk labels for pins, test pads, and mounting holes.
- Filter capacitors: 2 filter caps for main power connection and 1 for each logic level shofter for optimal data transmission without interference.
📦 Minimal BOM
- 1 × RP2040 (Pico 2W) socket / header footprint
- Headers, pads, mounting hardware
- Yet to add more info
📜 Schematics & Photos
Schematic – Level Shifter
Figure 1 — The HoloBoard schematic in KeyCad.
Schematic – Power & Buzzer
Figure 2 — components used, I/O's, connections.
Photo – Assembled (Front)
Figure 3 — Front view, Pico 2W inserted.
Photo – Assembled (Back / Solder Side)
Figure 4 — Back view showing soldering and Logo.
🚀 Features
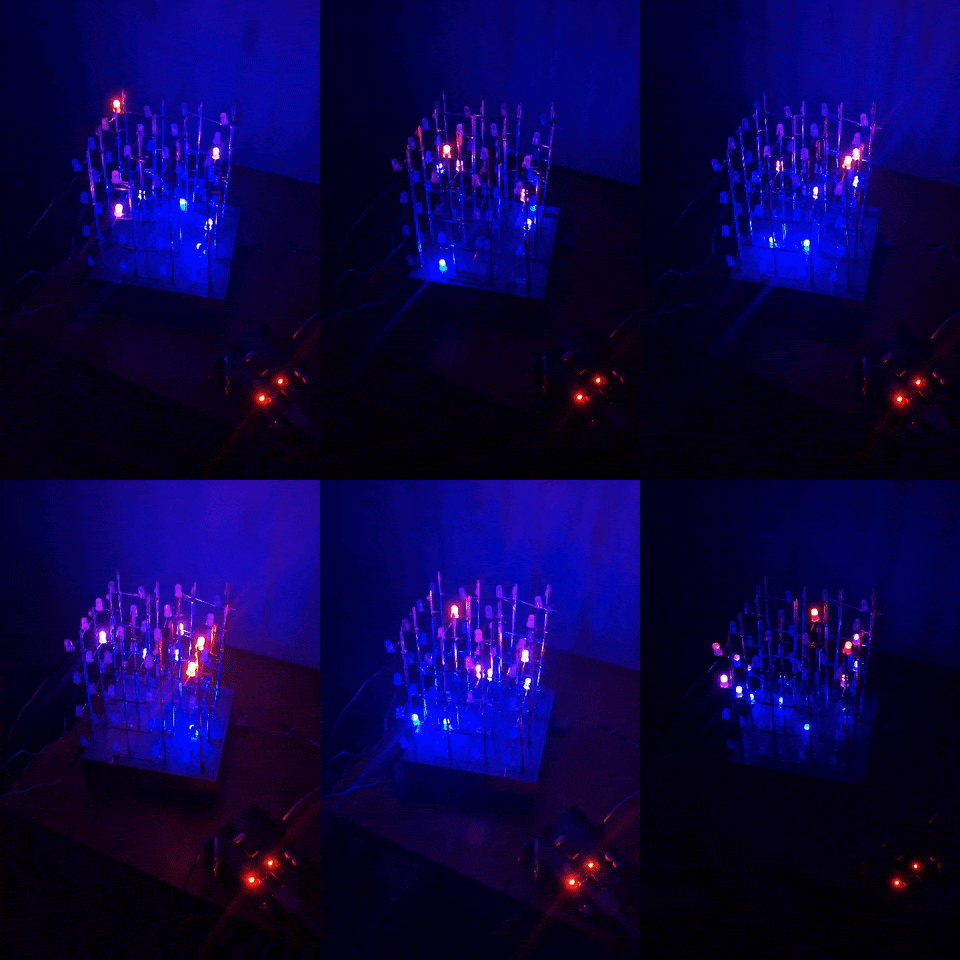
- Scalable architecture – animations work on both 4×4×4 test cube and full 16×16×16 cube.
- Voxel-based rendering – uses a global
voxelMatrix[x][y][z]buffer for color control. - Procedural animations – gradients, bouncing “DVD logo” effect, rain simulation, waves.
- Pre-rendered playback – read
.voxfile for animations or custom binary format. - Custom GFX library – draw lines, planes, waves, text in 3D space.
- SD card support – load animations without reflashing firmware.
- Multi-PSU design – independent PSU per cube tower for stable power delivery.
- Website based animation upload and debug - Upload animations or images directly from a computer to the Holocube.
⚡ Power & Safety Notes
- WS2812B LEDs consume up to 60 mA per LED at full brightness (white).
- Theoretical maximum current: ~245 A total across 4 PSUs.
- Always fuse PSU outputs and use thick wiring for high-current paths.
- Avoid running full white at 100% brightness for prolonged periods to reduce heat.
🖥️ Software Workflow
Procedural animations
- Written in C++ inside
/animations - Rendered directly to
voxelMatrix - Useful for dynamic effects and parameterized visuals
Pre-rendered animations
- Created in Paint, MagicaVoxel, or similar tools
- Exported as
.bmpor custom.hca(Holocub Animation) binary format - Loaded via SD card at runtime
📸 Development Timeline
- Phase 1 – Test code, Custom PCB
HoloBoard, SD card reader on 4×4×4 cube ✅ - Phase 2 – Develop GFX & cube configuration libraries ✅
- Phase 3 – Build cube structure & solder all LED strips 🔄
- Phase 4 – Integrate procedural + SD-based playback
- Phase 5 – Optimize power, stability, and animation library
🛠️ Setup & Build
Dependencies
- Adafruit NeoPixel
- SD card library for chosen MCU
- C++17 compatible toolchain
- PlatformIO (recommended) or Arduino IDE
Compilation
# PlatformIO
pio run --target upload
Arduino IDE
- Install Adafruit NeoPixel library
- Select Raspberry Pi Pico 2W (or your MCU)
- Upload
src/main.ino
📄 License
MIT License – You are free to use, modify, and distribute this project with attribution.
🙌 Credits
- Core team: [Bernea Dragoș Dada & Teodosiu Radu]
- Special thanks: MaltWiskey (inspiration & reference designs), Adafruit (NeoPixel library) and the C++ community.
- Open Source softwares used for the cube animations: MagicaVoxel (3D sprites designer)
No comments yet. Be the first to ask about this board.